Tech Tip: Utilizing the Slice Previewer to Eliminate Misprints
The slice video is a helpful tool to determine whether your models are nested appropriately for printing or whether parts nested above the platform are adequately supported. It shows the projection that will happen as the parts are printed. You can slow it down and hold the slider to find not only any slice issues, but to ensure that no parts are touching if you are nesting them manually. It can be a helpful guide in ensuring print success. Here’s how to use it!
How to access the slice video
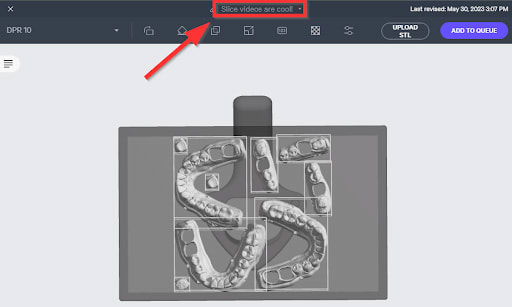
Step 1: On any given project, click on the project name in the top center of the screen to open the Project Settings menu.
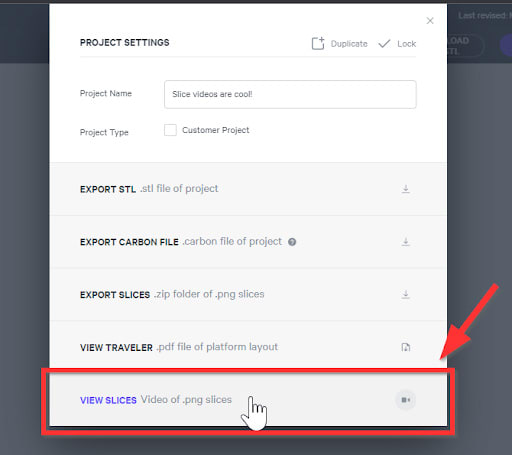
Step 2: Select the View Slices option to begin generation of the slice video. It will appear automatically when ready.
How to use the slice video for DPR10 dental models
Step 1: Generate the slice video as noted above.
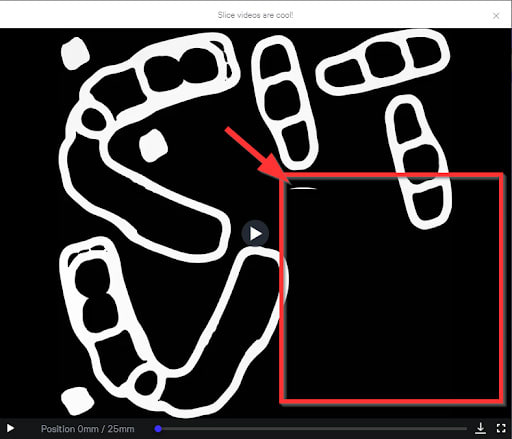
Step 2: Without starting the video, ensure that the flat bottom surfaces for all models are fully visible on the first slice image.
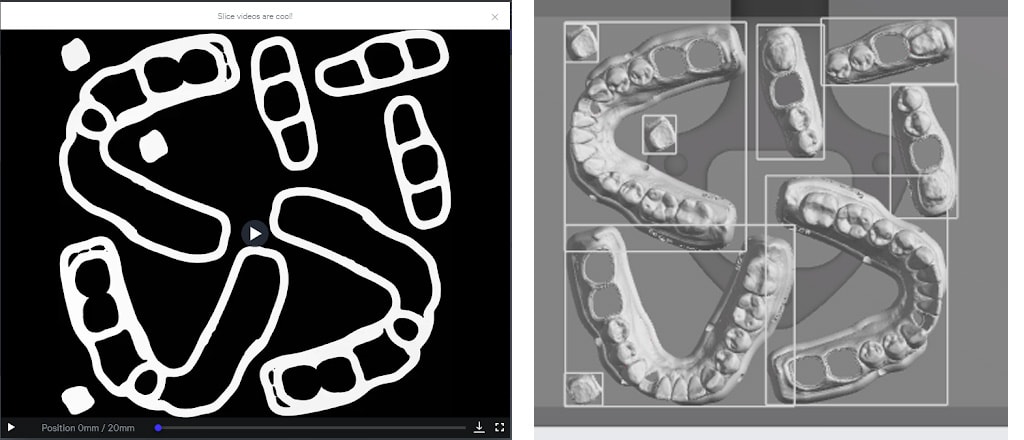
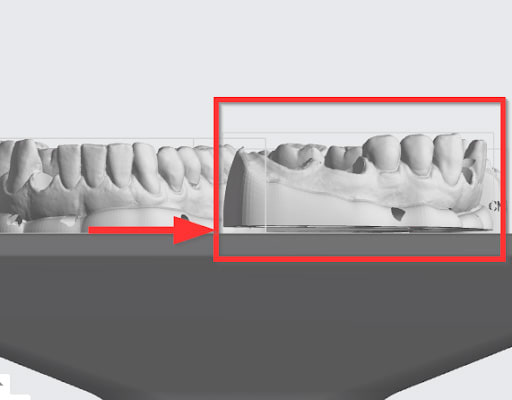
Step 3: If any of the models are not completely flat to the build platform, you will only see a portion of the surface or outline. If this occurs, please return to the Orient tab and use Snap to Platform to ensure the model is flat on the build platform surface.
Step 4: Once all models are flat, play the slice video to check for flashing which indicates missing slices and file errors. If you see flashing as in the video below, please repair the file and reupload to the project.
How to use the slice video for parts on supports
Step 1: Generate the slice video as noted above.
Step 2: Start the video.
